निर्देश-समीक्रिया (द्रष्टुं नोद्यम्)
- अधः XYZ इति यद् अस्ति, तस्य स्थाने स्वीयं github-नाम प्रयुङ्क्ताम्। (Below, replace ‘XYZ’ with your github username.)
- अथवैतत् प्रयुज्यतां यन्त्रम्:
- Back to Git workflow
Saving changes
- Go to https://vscode.dev/github/XYZ/REPO/tree/content or https://vscode.dev/github/XYZ/REPO/tree/static_files (if working on files located in static_files branch) on the computer where you’ll work (not mobile phone), provide all permissions. Config tips here.
- (Browser may block popups - enable popups. GitHub permission may be sought. etc..)
- If needed, switch to the “Explorer view”: YT.
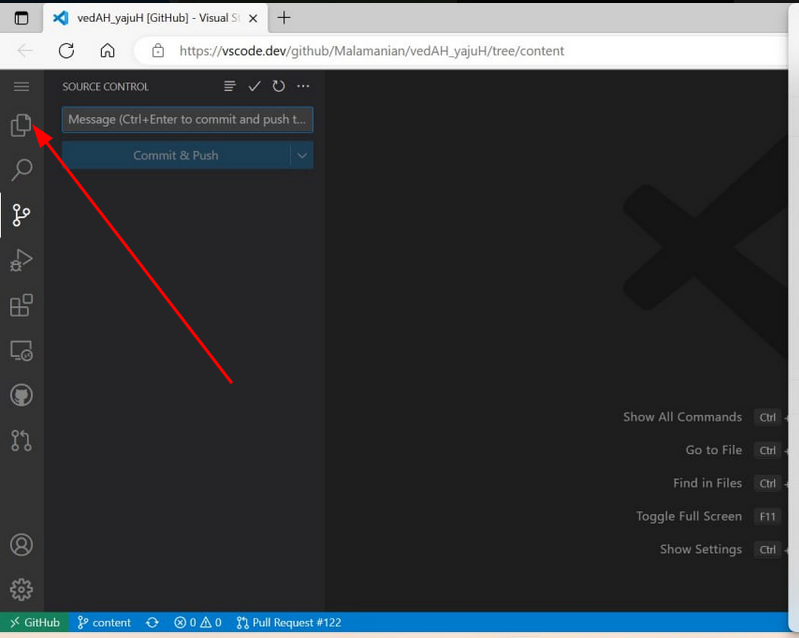
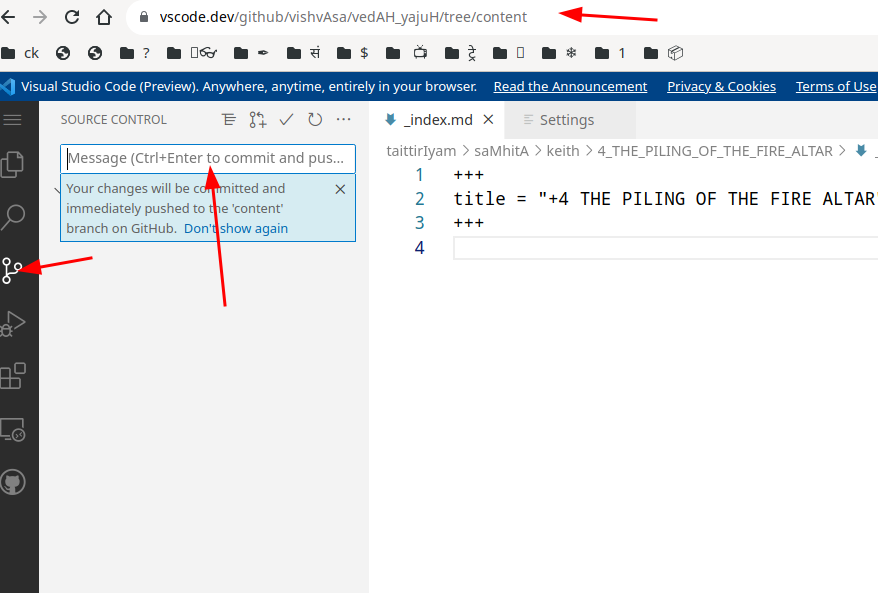
- Navigate to the files you want to change and make your edits. You save changes by typing a “Commit message” and commiting + pushing.
- Video demonstrations:
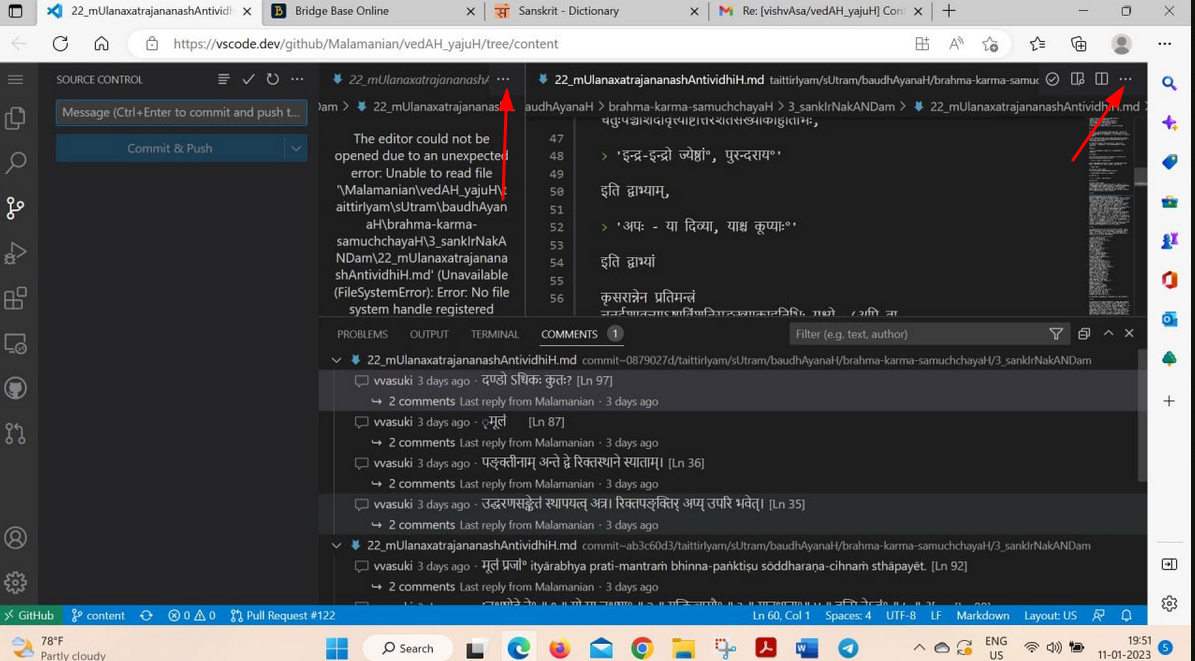
PS: To close unnecessary tabs, do as illustrated below:
Syncing fork
- प्रतिवारं (दीर्घविश्रान्तेः परम् अपि) कार्यारम्भात् प्राक् sync fork इति कुर्यात्।
Sending changes
- Sending changes via pull requests (आकर्षणाभ्यर्थन-प्रेषणम्). SHOULD BE DONE ON EVERY WORK-DAY, after work.
- यस्मिन् यस्मिन् दिने कार्यं करोति, तत्तद्दिने कार्यारम्भात् प्राक् sync fork इति कुर्यात्, कार्यान्ते चाकर्षणाभ्यर्थनं प्रेषयेत्। एकस्मिन् दिने शोधनम् अपरस्मिन् दिने प्रेषणम् इति नैव युक्तम्। (अनेन मत्पक्षे परीक्षणं सरलम् भवति, भ्रमाश् च वार्येरन्।)